
Almost every stucco failure we are called out to repair was decided on the day the wall went up. Correct lath, correct joints, correct coat thicknesses and enough time between them is the whole difference between a wall that lasts decades and one that cracks in its second summer. We install to the standard, not to the schedule.
Stucco installation is a layered wall system, not simply a coating applied to the surface. The weather barrier, lath, drainage details, control joints, and base and finish coats all need to work together. Proper curing is also important because rushing between coats can lead to shrinkage cracks and early failure. Good installation gives stucco the foundation it needs to perform for decades.
Kinetic Stucco Restoration installs stucco for new construction, additions, and re-clad projects across Sarasota, Bradenton, Siesta Key, St. Petersburg, and Riverview. Eric personally manages each project, applying lessons from years of repairing failed stucco systems. We follow applicable standards, allow proper curing time, and provide a sample panel so you can approve the texture before full installation.
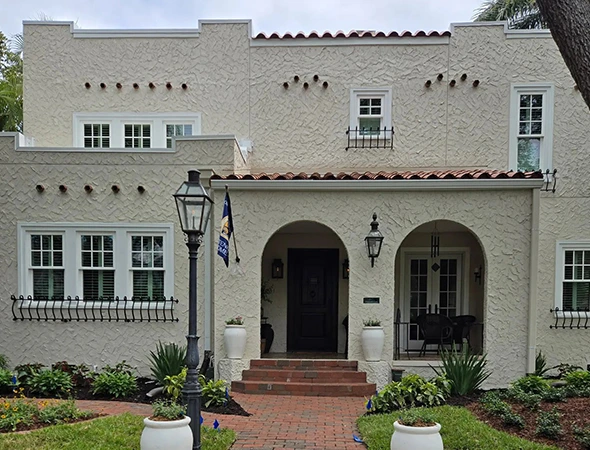
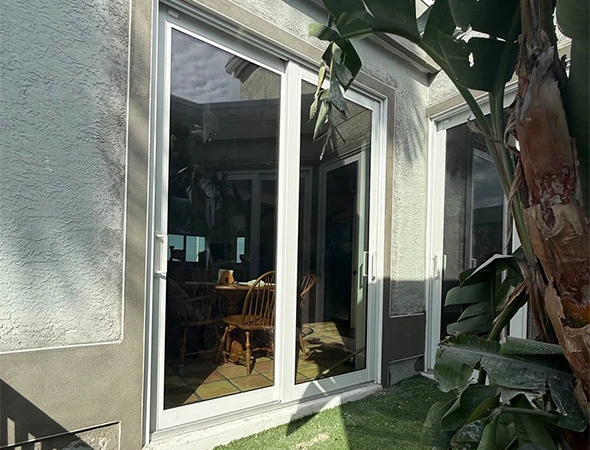
The Cure Schedule Is Not Negotiable
We hold the intervals between coats even when it slows the programme, because shrinkage that happens before the finish coat is invisible and shrinkage that happens afterwards is on your wall for good.
Drainage Detailing Done Properly
Weep screeds, barrier laps and penetration flashing are installed so incidental water has a route back out, which is the difference between a wall that gets wet and a wall that stays wet.
Joints Planned Before the Lath Goes On
Control joint layout is worked out at the start against panel size limits and window positions, rather than being fitted around whatever the lath crew already installed.
You Approve the Finish Before We Commit
We put up a sample panel in your chosen texture and colour on site, so the decision is made against a real wall in real Florida light rather than a brochure swatch.
We Know Where Installations Fail Because We Repair Them
Fifteen years of repairing failed stucco tells you more about correct installation than any product training course does.
We establish what we are building over, agree the coat system, plan joint layout and drainage detailing, and confirm permitting before anything is ordered.
Substrate preparation, weather barrier, weep screed, lath and all accessories go on in the correct sequence, lapped so water always runs to the outside of the assembly.
Scratch, brown and finish coats applied at proper thickness with full cure intervals between them, ending with your approved texture and a walkthrough.
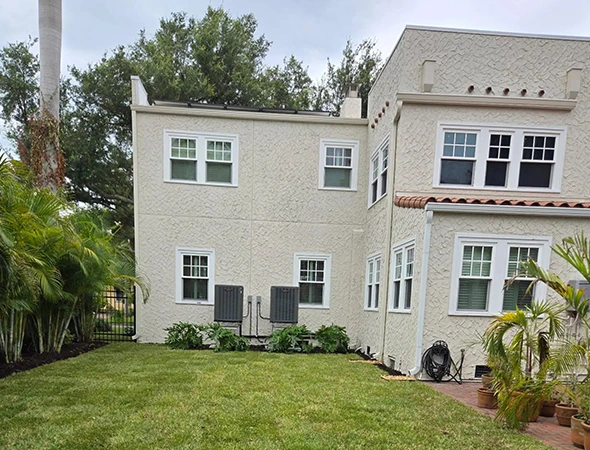
What we install depends on what we are installing over, and the two situations are genuinely different builds. If you are still weighing cement plaster against EIFS installation, that decision comes before this one. Over wood frame, the assembly is a full three-coat system: weather barrier, then metal lath furred off the wall so cement can key behind it rather than sitting flat against the paper, then a scratch coat pressed hard into the lath and scored horizontally, a brown coat rodded flat and floated to leave a gritty surface for the finish to grip, and finally the finish coat, totalling around seven eighths of an inch.
Over concrete block, cement bonds directly to masonry and no lath is needed, so a two-coat system is typical and thinner. Two details decide whether either version lasts. The weep screed at the base must sit at least four inches above soil or two inches above paving, with the barrier lapping over its flange, otherwise the wall wicks ground moisture upward and has no way to drain. And control joints must be planned to keep panels within roughly 144 square feet.
The finish coat is only an eighth of an inch thick but it decides how the building looks for the next twenty years and how easy it will be to repair. Dash, sprayed on with a hopper gun and left rough or knocked down flat with a trowel, is fast, durable and forgiving of small irregularities in the wall behind it, though its deeper crevices collect dirt and cobwebs in a humid climate. Sand float gives a fine, even texture that suits most Florida architecture and is among the simplest finishes to patch invisibly later.
Lace and skip textures hide imperfections better than almost anything and blend well when repairs are eventually needed. Smooth is the opposite proposition: it looks superb on contemporary architecture, costs the most, demands a genuinely flat wall underneath, and shows every wave and every future repair. That trade between appearance now and repairability later is the conversation worth having before you choose, because in this climate every wall eventually needs work.
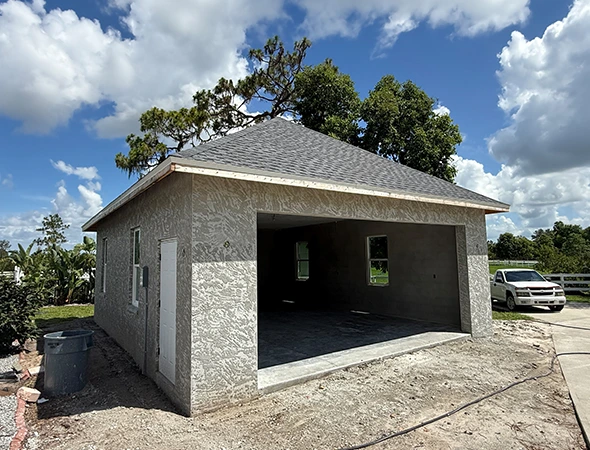
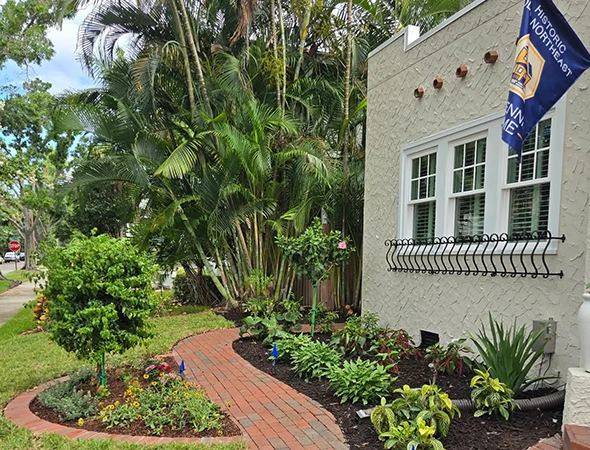
Beyond standard textures, stucco is a plastic material that can be shaped, and that is where a project stops looking like every other house on the street. We build banding and belly courses, window and door surrounds, recessed reveals, quoins, arched openings, column wraps and returned window jambs, all formed as part of the system rather than glued on afterwards.
Colour is the other custom decision. Pigment can be integral to the finish coat, which means the colour goes right through the material and a scratch does not show a pale line underneath, or the wall can be finished plain and painted, which gives a wider palette and easier future changes. Integral colour ages more gracefully but locks you in. We generally build a sample panel on site showing texture and colour together, because both read completely differently at full scale in Florida sun than they do on a small board or a screen.
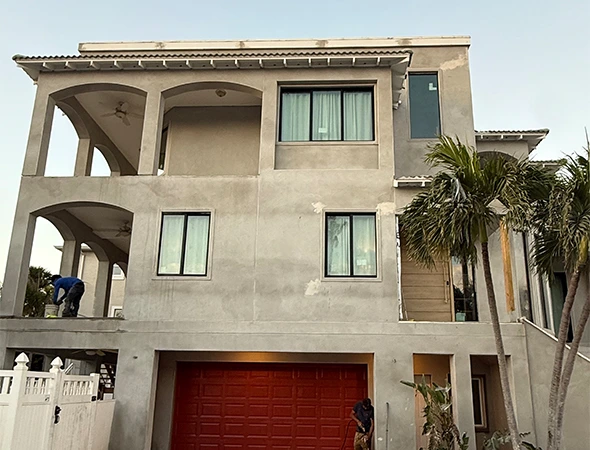
Tying new stucco into an existing building is harder than starting from bare framing, and it is where most additions give themselves away. Three problems have to be solved at once. The new work has to match the existing texture, which means reading a finish that was applied by a different hand in a different decade and reproducing it. It has to match colour against a wall that has been fading in Gulf Coast sun for years, so a technically perfect colour match to the original formula will still look wrong.
And the junction between old and new has to be detailed to allow movement, because two sections of stucco built years apart will move at different rates and a rigid butt joint between them cracks in a straight line every time. We handle that junction with a proper joint rather than hoping it holds, we set expectations honestly about colour before work starts, and where a true match is not achievable we will usually recommend stucco restoration across the full elevation to a natural break so the eye reads one wall instead of two.
Why does new stucco have to sit for a week or more before the finish coat goes on?
Because cement shrinks as it cures, and you want that shrinkage to happen in the base coats where it will be covered. Standards call for the scratch coat to be moist cured before the brown coat goes on, then the base coats to dry for roughly seven to fourteen days before finishing. A contractor who finishes on day three saves a week and hands you a wall where the shrinkage cracks form after the finish and show through it permanently. It is the most common corner cut in the trade.
Do I need a two-coat or three-coat system?
The substrate decides, not preference. Over wood frame you need a full three-coat system over lath, because the cement has nothing to bond to and the lath gives it something to key into. Over concrete block, cement bonds directly to the masonry and a two-coat system is standard and thinner. Some Sarasota homes are block on the ground floor and frame above, which means one building legitimately gets both. We confirm the substrate before quoting so the system matches the wall.
Should I choose integral colour or paint the stucco afterwards?
Integral colour is pigment mixed into the finish coat, so the colour runs through the material and chips or scratches do not expose a pale layer underneath. It weathers gently and needs no repainting cycle, but changing it later means refinishing. Paint over plain stucco gives you a far wider colour range and an easy change of mind, at the cost of a recoating interval. For most Florida homeowners it comes down to whether you want lower long-term maintenance or more flexibility.
Do control joints have to be visible on my walls?
They have to exist, but they do not have to look like an afterthought. Panel size limits mean a large elevation needs breaks, and the skill is placing them where they read as architecture rather than as lines through the middle of a wall. A horizontal joint aligned with the floor line looks like a deliberate band. Vertical joints dropped from window corners follow where stress naturally concentrates anyway. We plan the layout on your elevations before lathing so the joints land where they make visual sense.
Can stucco be installed over existing siding or an old wall?
Sometimes, and it depends entirely on what is there. Sound, clean masonry usually accepts new stucco directly. Painted masonry is a problem, because cement will not bond through a sealed surface, so the coating has to come off or the wall has to be treated like framing and lathed. Existing siding generally has to come off so the weather barrier and drainage can be installed correctly underneath. We inspect before quoting, because guessing at this stage is how re-clad projects end up costing double.
Talk to us early, ideally before the framing is closed in. Decisions about drainage detailing and joint layout are cheap at the planning stage and expensive once the wall is up. We are happy to review drawings or a builder’s specification with you at no charge.
We are a veteran-owned stucco company in Sarasota, Florida, with 15+ years on Gulf Coast exteriors. Because most of our work involves repairing installations that were done badly, we install new stucco the way we wish everyone did. Call (941) 298-3562 to discuss your project.